
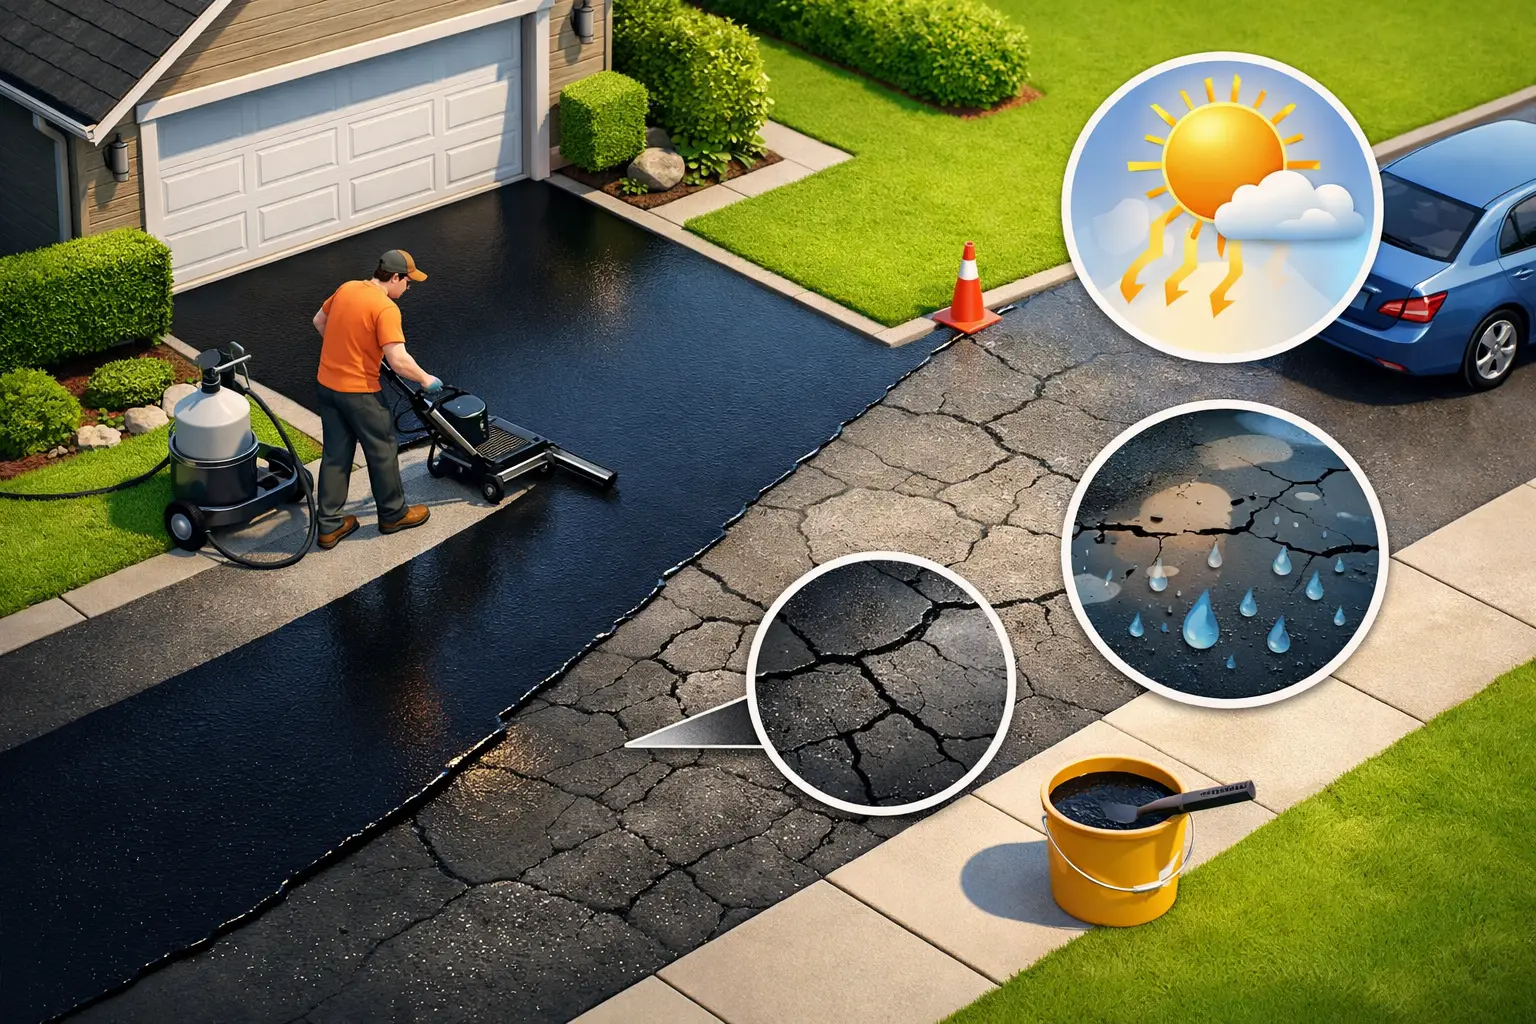
A driveway can look fine from the curb and still be losing protection. Sun, rain, vehicle fluids, road salt, and Long Island’s freeze-thaw weather gradually dry out asphalt and wear away its rich black finish. If you are asking, “when should you sealcoat a driveway,” the right answer depends on the driveway’s age, condition, and the forecast – not just the calendar.
Sealcoating is preventive maintenance. It creates a protective surface layer that helps asphalt resist water, oxidation, and everyday wear. Done at the right time, it can help a driveway keep its appearance longer and reduce the need for more costly repairs down the road.
When Should You Sealcoat a Driveway? Start With Its Age
Brand-new asphalt needs time to cure before it is sealed. In most cases, a new driveway should remain unsealed for about six to 12 months. That waiting period allows oils in the asphalt to settle and the surface to harden properly. Sealing too early can trap those oils and keep the sealer from bonding as it should.
The exact timing can vary. A driveway installed during warm, dry weather may cure differently than one installed late in the season, and the asphalt mix itself matters too. If your driveway was recently paved, ask the paving contractor when it will be ready rather than relying on a one-size-fits-all timeline.
After that first application, many driveways benefit from sealcoating every two to three years. A lightly used residential driveway may go longer. A busy driveway, rental property, commercial lot, or surface exposed to strong sun and frequent vehicle traffic may need attention sooner.
Watch the Surface, Not Just the Date
A schedule is helpful, but your driveway gives clearer clues about its condition. Asphalt that has lost its deep black color and turned gray is beginning to oxidize. That faded, dry-looking surface is often a good candidate for sealcoating, provided it is structurally sound.
Small surface cracks are another signal to act. Water can enter even narrow cracks, then expand when temperatures drop. Over time, that can turn a small maintenance issue into wider cracking, loose edges, or potholes. Cracks should be cleaned and filled before sealcoating so the finished surface has a better chance of holding up.
Pay attention to areas near parked cars as well. Oil, gasoline, and other automotive fluids can soften asphalt and break down its binder. Those spots need to be cleaned and treated before a sealer is applied. Covering an active stain without proper preparation can leave a weak area underneath.
Sealcoating Will Not Fix a Failing Driveway
Sealcoat improves protection and appearance, but it is not a repair for serious damage. If the driveway has deep cracks, potholes, low spots that hold water, crumbling edges, or widespread alligator cracking, repair work should come first. In some cases, patching or resurfacing is the better investment than applying a fresh black coating over a failing base.
This is where a straightforward assessment matters. A good contractor should tell you whether sealing makes sense now or whether the driveway needs repair first. Spending money on sealcoat before addressing drainage or structural damage can lead to disappointing results.
The Best Time of Year to Sealcoat
Warm, dry weather is the goal. Most sealcoating products need air and pavement temperatures above roughly 50 degrees Fahrenheit, with no rain expected during application and curing. The surface must also be dry. Morning dew, recent rain, or moisture in shaded areas can interfere with adhesion.
For Long Island properties, late spring through early fall is usually the most reliable window. Summer can be ideal when the forecast stays dry, but extremely hot days may require crews to adjust the work schedule so the material can be applied evenly. Early fall is also a strong option when daytime temperatures remain warm enough and rain is not in the forecast.
Avoid sealing late in the fall when cold nights, falling leaves, and unpredictable rain make curing more difficult. Winter is not the time for sealcoating. Cold pavement and moisture can prevent the coating from setting properly, leaving a finish that wears out too soon.
The forecast matters more than picking a particular month. Plan for at least 24 hours of dry weather after application, and preferably longer when temperatures are mild or humidity is high. A professional crew will monitor conditions and reschedule when needed rather than rushing a job that will not last.
Prepare the Driveway Before the Sealer Goes Down
The quality of the preparation has a major effect on the finished result. The driveway should be free of dirt, leaves, loose gravel, weeds, and automotive stains. Edges and cracks need attention, and the surface should be fully dry before any sealer is applied.
Move vehicles, basketball hoops, planters, and other items from the driveway ahead of time. If the driveway is shared or connects to a garage that must be accessed, plan your schedule around the curing period. A little preparation helps the crew work efficiently and helps protect the new coating from marks and damage.
Freshly sealed asphalt can look ready quickly, but it still needs time to cure. Foot traffic is often possible sooner, while vehicles commonly need to stay off the driveway for 24 to 48 hours. Hot weather, shade, humidity, and the type of sealer can affect that timeline. Follow the contractor’s instructions before parking or turning tires sharply on the surface.
How Often Is Too Often?
More sealcoat is not always better. Applying it too frequently can create a buildup that may peel or flake, especially if the surface was not cleaned or repaired correctly between applications. A driveway that still has a sound, dark protective finish does not need another coat simply because two years have passed.
On the other hand, waiting until asphalt is badly faded and cracked makes maintenance less effective. The goal is to seal when the previous coating has worn away and the asphalt is beginning to lose protection, not after water has already caused widespread damage.
Property managers and business owners should also consider traffic patterns. Vehicle entrances, loading areas, parking stalls, and drive lanes wear at different rates. A property may not need every section sealed on the same schedule, particularly when one area receives much heavier use than another.
A Practical Way to Plan Your Sealcoating
Walk your driveway each spring after winter has passed. Look for new cracks, fading, puddles, edge damage, and stains. If you see minor issues, addressing them early usually costs less and gives the driveway a better chance of lasting.
If the surface is in good shape but looks gray and dry, schedule an estimate during a stretch of warm, dry weather. If it has major cracking or standing water, ask for a repair recommendation before choosing sealcoating. That approach protects your budget and avoids putting a cosmetic finish over a problem that needs real correction.
For homeowners and property managers across Long Island, Big Apple Paving and Remodeling can assess the condition of an asphalt driveway and provide a clear, affordable recommendation. The best time to seal is when the pavement is ready, the weather cooperates, and the work is prepared properly – giving your driveway protection that looks good and holds up.